Are you looking to add a personal touch to your wardrobe? Learning how to apply nurse transfers to your T-shirts is a fantastic way to express your passion for nursing while creating unique and stylish apparel. Nurse transfers are not only a fun craft project but also a great way to showcase your profession or support for healthcare workers. In this guide, we will explore the various techniques and materials needed to successfully apply these transfers to your T-shirts, ensuring that you stand out in any setting.
In the following sections, you will discover the essential tools required for applying nurse transfers, including heat transfer vinyl and transfer paper. We will also provide step-by-step instructions to help you achieve professional-looking results, whether you are a beginner or an experienced crafter. Additionally, we will share tips on selecting the right T-shirt fabric and design ideas that resonate with the nursing community, making your creations not only fashionable but also meaningful.
So, if you’re ready to dive into the world of DIY fashion and learn how to apply nurse transfers to your T-shirts, keep reading! This guide is packed with valuable insights and practical advice that will inspire you to unleash your creativity and make your own personalized apparel. Whether for yourself or as a thoughtful gift for a fellow nurse, these T-shirts are sure to make a statement!
Applying nurse transfers to T-shirts is a creative way to showcase your appreciation for the nursing profession. This guide will explore various aspects of the transfer process, ensuring you have all the information needed to create beautiful and meaningful designs.
Understanding Nurse Transfers
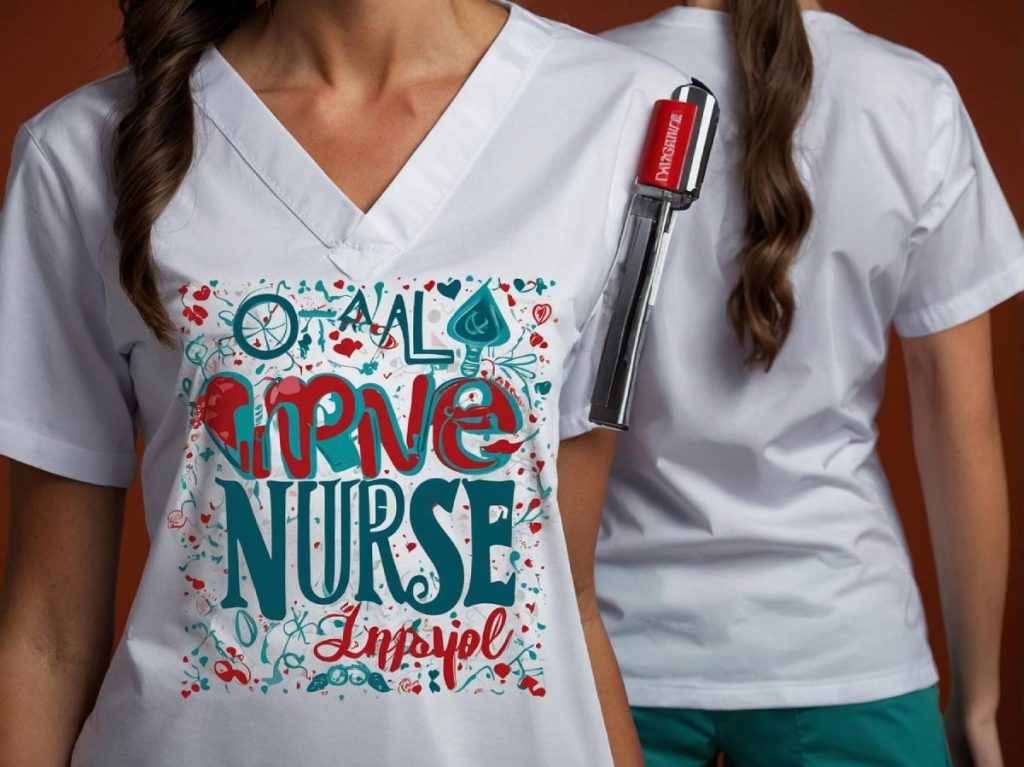
Nurse transfers are specialized heat transfer designs that celebrate the nursing profession. These transfers can feature various graphics, quotes, or symbols that resonate with nurses and their work. Understanding the types of transfers available is crucial for selecting the right one for your T-shirt project. Common types include vinyl transfers, sublimation prints, and screen-printed designs.
Each type of transfer has its unique application method and durability. For instance, vinyl transfers are known for their vibrant colors and long-lasting quality, while sublimation prints offer a more seamless finish. Knowing these differences will help you choose the best option for your T-shirt design.
Materials Needed for Application
To successfully apply nurse transfers to your T-shirts, you will need specific materials. Essential items include the T-shirt itself, the nurse transfer, a heat press or iron, and parchment paper. Additionally, having a ruler and scissors on hand can help ensure precise placement of the transfer.
Choosing the right T-shirt fabric is also important. Cotton and polyester blends work best for most transfer types, as they allow for better adhesion and vibrant colors. Make sure to pre-wash your T-shirt to remove any sizing that may interfere with the transfer process.
Preparing Your T-shirt for Transfer
Before applying the nurse transfer, proper preparation of the T-shirt is essential. Start by washing and drying the shirt to eliminate any chemicals or residues. Next, iron the T-shirt to remove any wrinkles, ensuring a smooth surface for the transfer application.
Once the T-shirt is prepared, lay it flat on a heat-resistant surface. Use a ruler to measure and mark the desired placement of the transfer. This step is crucial for achieving a professional-looking result, as uneven placement can detract from the overall design.
Application Techniques for Nurse Transfers
There are two primary methods for applying nurse transfers: using a heat press or an iron. A heat press is recommended for its ability to provide consistent heat and pressure, resulting in a more durable transfer. If using an iron, ensure it reaches the appropriate temperature and avoid using steam, as this can affect the transfer’s adhesion.
Regardless of the method chosen, place a piece of parchment paper over the transfer before applying heat. This protects both the transfer and the T-shirt fabric from direct heat, ensuring a successful application. Follow the manufacturer’s instructions for time and temperature settings to achieve the best results.
Caring for Your T-shirt After Transfer
After successfully applying the nurse transfer, proper care is essential to maintain its appearance. To prolong the life of your design, wash the T-shirt inside out in cold water and avoid using bleach. Air drying is preferable, but if using a dryer, select a low heat setting to prevent damage to the transfer.
Additionally, avoid ironing directly over the transfer. Instead, use a piece of parchment paper to protect the design if ironing is necessary. Following these care tips will help keep your T-shirt looking fresh and vibrant for years to come.
Creative Ideas for Nurse Transfer Designs
When it comes to nurse transfer designs, the possibilities are endless. Consider incorporating popular nursing quotes, symbols like the caduceus, or even personalized designs that reflect individual nursing specialties. You can also create matching T-shirts for nursing teams or events, fostering a sense of unity and pride.
To inspire your creativity, here are a few design ideas:
- “Nursing is a work of heart” with a heart graphic.
- A stethoscope forming a heart shape.
- Custom designs featuring the nurse’s name and specialty.
These ideas can serve as a starting point for your T-shirt designs, allowing you to express your appreciation for the nursing profession in a unique and personal way.
| Step | Description |
|---|---|
| 1. Gather Materials | Collect all necessary materials including nurse transfer designs, T-shirts, an iron, parchment paper, and a hard surface for ironing. |
| 2. Prepare the T-Shirt | Wash and dry the T-shirt to remove any sizing. Iron the T-shirt to ensure a smooth surface for the transfer. |
| 3. Position the Transfer | Place the nurse transfer design face down on the desired area of the T-shirt. Ensure it is centered and straight. |
| 4. Heat the Iron | Set the iron to the appropriate temperature for the fabric type of the T-shirt. Avoid using steam. |
| 5. Apply Heat | Place a piece of parchment paper over the transfer. Press the iron down firmly for the recommended time (usually 20-30 seconds). |
| 6. Cool and Peel | Allow the transfer to cool for a few seconds. Carefully peel off the backing paper to reveal the design. |
| 7. Final Touches | If necessary, reapply heat with the parchment paper to ensure the transfer is securely adhered to the fabric. |
| 8. Care Instructions | Wash the T-shirt inside out in cold water and avoid bleach to preserve the transfer. Hang dry or tumble dry on low. |